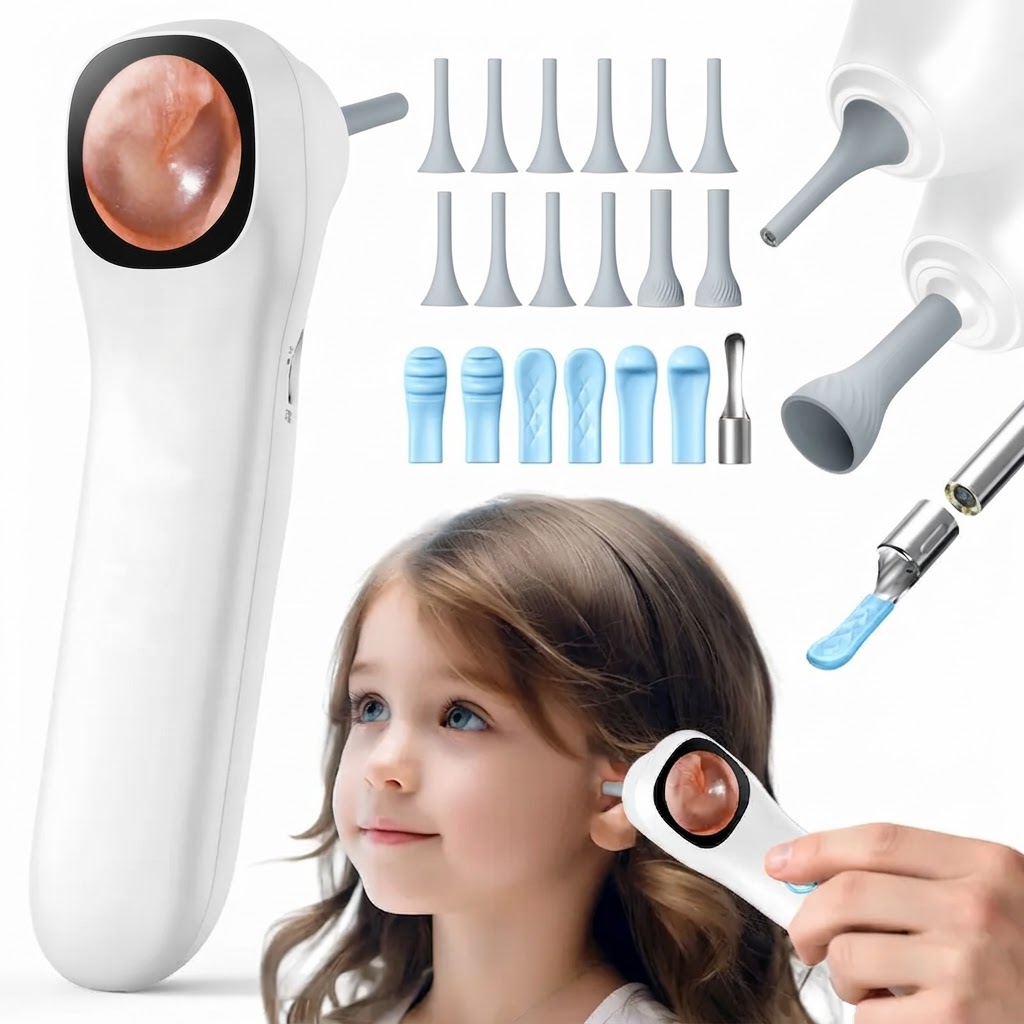
How to Use the Smart Ear Camera for Safe Home Ear Cleaning
Using a visual ear inspection tool lets you clean ear wax with complete visual control. Follow this simple guide to set up and operate your Smart Ear Camera effectively.
Step 1: Charge and Power On the Smart Ear Camera
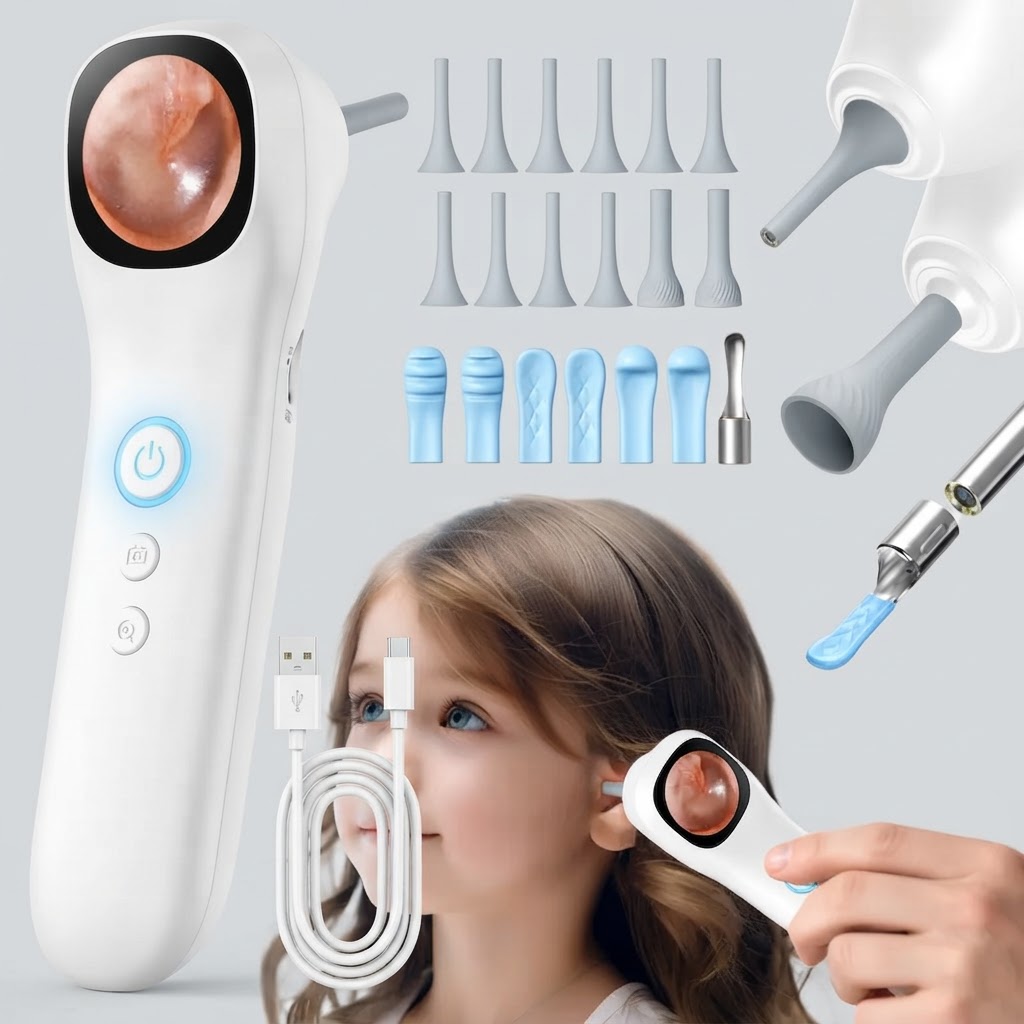
Ensure your device is fully charged using the included cable via its USB-C port. Press and hold the power button to turn on the camera system.
Step 2: Attach a Soft Silicone Tip or Spoon
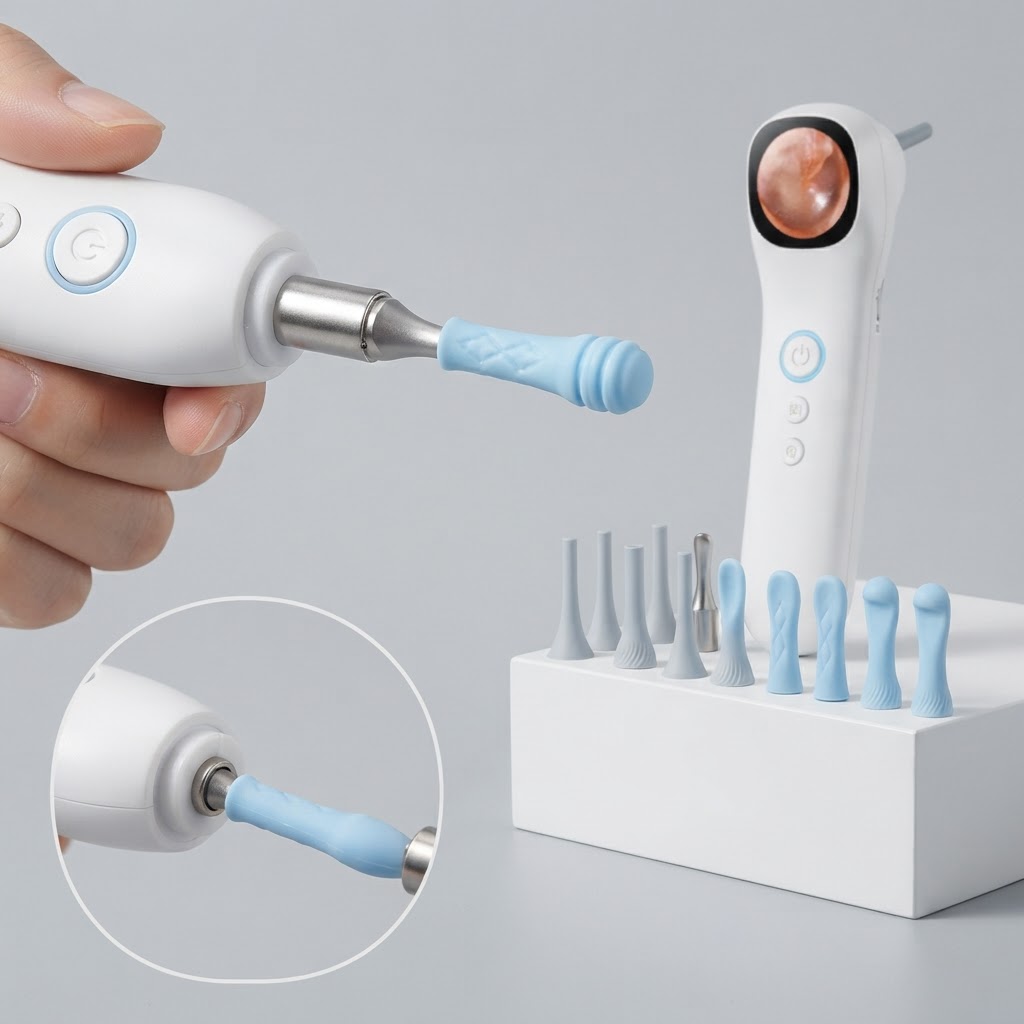
Select one of the included 12 Soft Silicone Tips & 6 Spoons. Twist or push the flexible tip firmly onto the camera head until secured. These skin-friendly attachments prevent scratching during use.
Step 3: Connect to the Screen and Turn On Lights
Activate the built-in lights to illuminate dark areas. Confirm that the live feed displays clearly on the built-in screen in 1080P HD resolution.Step 4: Inspect the Canal and Clean Carefully
Slowly insert the tip into the ear canal while watching the real-time feed on the screen. Gently manipulate the soft tip to lift surface earwax without pressing hard against canal walls. As emphasized in the main guide, never force the tool deeper than your clear field of view allows.Step 5: Capture Photos or Video if Needed
If you observe excessive buildup or an unusual surface spot, use the Photo & Video Capture function to record high-resolution media to your connected device.Step 6: Clean and Store Attachments Safely
Remove the silicone tip after use. Wash it with mild soap and warm water, or wipe it down with an alcohol swab (ensuring it meets the weather-resistant waterproof rating standards for safe cleaning). Store all components in a clean, dry place.Read the full guide: How to Clean Ear Wax at Home Safely: The Complete Visual Care Guide
cluster-generatorclustermofu