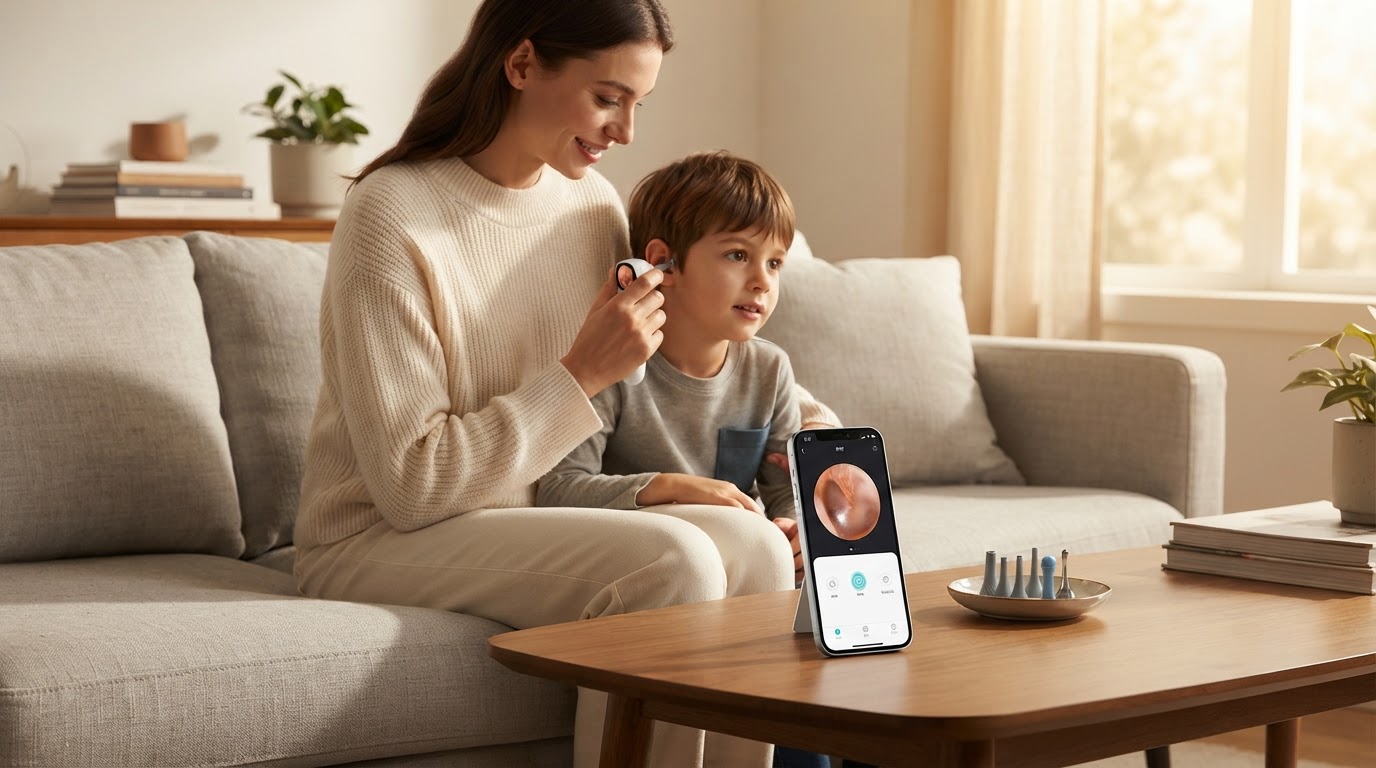
How to Use a Smart Ear Camera for Canal Inspection?
 Priya RamanSenior Analyst
October 3, 2026 — Performing a safe ear canal inspection with a Smart Ear Camera requires a stable physical anchor point and a synchronized digital interface to prevent accidental contact with the tympanic membrane.
Consumers increasingly seek visual ear pickers to manage hygiene without the risks associated with blind cotton swab usage. Understanding the spatial relationship between the camera lens and the ear's delicate internal structures is critical for avoiding injury. Once you see it this way, the process becomes a matter of controlled navigation rather than guesswork.
How do you prepare for a Smart Ear Camera inspection?
The decision rule for a successful inspection begins with establishing two axes: visual clarity and physical stabilization. Before inserting the device, ensure the lens is cleaned with a 75% isopropyl alcohol solution to prevent debris from blurring the high-definition feed. According to ScopeAround, digital ear otoscope video cameras must provide a clear, unobstructed view to be effective for home use. Users should pair the Smart Ear Camera to their mobile device via the dedicated application, confirming the frame rate is stable to avoid lag during movement. Stabilization is achieved by resting the pinky finger of the holding hand against the cheekbone; this creates a physical limit that prevents the probe from sliding too deep if the user flinches. This preparation phase is essential for anyone learning how to see inside your own ear with Smart Ear Camera? safely.
What is the safest technique for canal navigation?
Navigating the ear canal with a Smart Ear Camera involves a slow, incremental insertion while maintaining the eardrum in the center of the digital frame. Think of it as a matrix of depth and orientation; the user must pull the outer ear (pinna) upward and backward to straighten the natural curve of the canal. Research published by the NIH (PMC9705332) notes that endoscopic ear picks serve as both a visual aid and a tool for wax removal, but they require precise handling to avoid the neglected risks of home instrumentation. As the camera approaches the eardrum, the user should observe for the "cone of light" reflection, which indicates a healthy tympanic membrane. If resistance is felt or if the image becomes obscured by cerumen, the insertion must stop immediately. This process is often the first step when a user needs to check ear infection at home camera settings before consulting a professional. Proper navigation distinguishes a standard tool from a high-quality otoscope with light and camera setup.
Quick answers
Q: Can a Smart Ear Camera identify a middle ear infection? A: While the device provides a clear view of the redness or bulging of the eardrum, a clinical diagnosis of Otitis Media requires a medical professional. The Smart Ear Camera serves as a documentation tool to share high-resolution imagery with a doctor.
Q: How often should the camera lens be sanitized? A: The lens and any attached ear picks should be sanitized with alcohol both before and after every session. Maintaining this 100% hygiene standard prevents the transfer of bacteria between the outer ear and the sensitive canal.
Q: Is the Smart Ear Camera safe for children? A: Use on children requires two adults—one to stabilize the child's head and one to operate the camera. Because the ear canal in children is shorter, the depth of insertion must be strictly limited to the outer third of the canal to protect the eardrum.
Learn more about Smart Ear Camera at https://smartearcamera.com.
Sources
- Ear Scope Cameras - ScopeAround
- Digital Otoscopes & Ear Cameras - Teslong
- Video Otoscope Demonstration- Looking into the ear - YouTube