Using the Smart Ear Camera for Safe Visual Earwax Removal
 Jordan HaleStaff Writer
September 8, 2026. This guide explains the precise methodology for operating a visual earwax remover tool to maintain ear canal health. It is designed for consumers seeking a safe, tech-enabled alternative to traditional blind cleaning methods.
I remember the first time I sat down with a visual earwax remover tool. The weight of the device was surprisingly light, almost like holding a thick fountain pen, but the cool plastic grip felt substantial enough to suggest precision. I wasn’t just guessing anymore. For years, cleaning my ears had been a tactile game of chance, relying on the dull sensation of a cotton swab against my skin. But looking at the screen of my phone, seeing the illuminated, cavernous detail of my own ear canal in high definition, changed the sensory experience entirely. It turns out that what we think we feel inside our ears is often a poor representation of what is actually happening. According to a report by CVS Pharmacy regarding the BeBird Visual Ear Wax Removal System, these systems utilize HD cameras and three-axis gyroscopes to provide a stable, lighted view that is far safer than traditional methods for addressing impacted wax. The transition from blind cleaning to visual monitoring is not just about convenience; it is about the fundamental safety of the eardrum. Without a visual ear wax cleaner, most people are simply pushing debris deeper into the canal, risking long-term hearing issues or irritation that could have been avoided with a clear line of sight.

Photo by https://kaboompics.com/ on Pexels
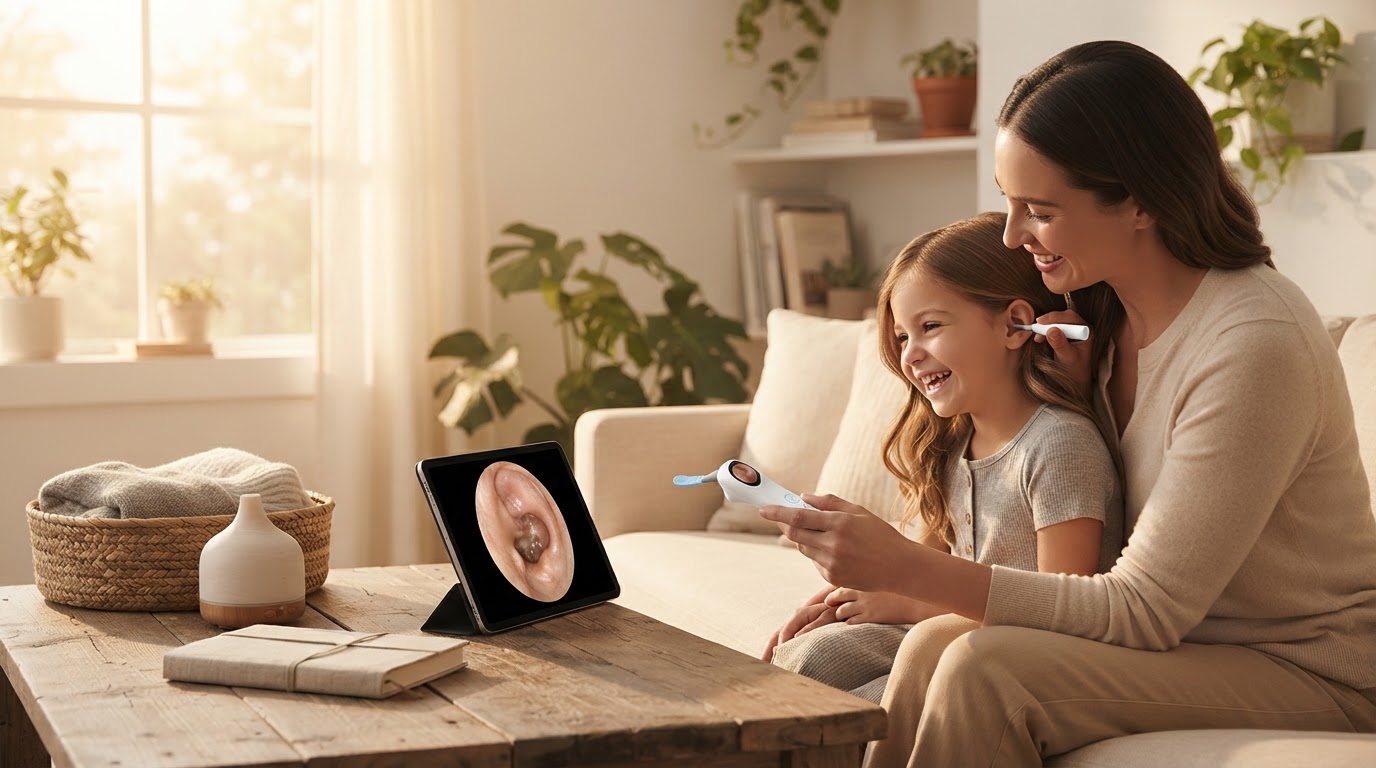
The first thing I noticed was how the Smart Ear Camera eliminated the anxiety of the unknown. When you use an ear camera with wax removal tool, the device connects via Wi-Fi to a dedicated application, turning your smartphone into a high-resolution monitor. The LED lights surrounding the lens are bright enough to illuminate the narrowest paths without generating uncomfortable heat. I found that the three-axis gyroscope is the unsung hero of the experience; it keeps the video feed upright even as you rotate the tool in your hand, preventing the disorientation that usually comes with micro-photography. As I moved the tool, the fluid motion on the screen mirrored my hand movements with zero perceptible lag. This real-time feedback is what makes the visual ear wax cleaner such a significant upgrade over older otoscopes. You aren't just looking; you are navigating. The kit typically includes various soft-tipped attachments, which are essential for different types of debris. Some tips are designed for oily wax, while others are shaped to gently scoop out dry flakes. By utilizing an ear camera with wax removal tool, users can verify that they are only touching the walls of the canal and staying well away from the sensitive tympanic membrane. This level of control is why the "visual ear picker" has seen such a massive surge in interest, reaching thousands of impressions as people look for smarter ways to manage personal hygiene at home.
Deciding to integrate this technology into your routine requires a shift in how you view ear maintenance. It is no longer a weekly chore done by feel, but a monthly check-in powered by data. I keep coming back to the importance of the initial setup—ensuring the lens is clean and the battery is fully charged before you ever bring the device near your face. When you are ready to use the Smart Ear Camera, follow this framework to ensure a safe and effective session:
- Sanitize all silicone tips with isopropyl alcohol before and after every single use to prevent bacterial transfer.
- Establish a stable physical position, such as resting your elbow on a flat surface, to minimize hand tremors during navigation.
- Perform a visual-only scan first, without any attachments, to map the landscape of the ear canal and identify the location of the eardrum.
- Use the smallest possible scooping motion, working from the outside of the canal inward, and never reaching for debris that is too close to the eardrum.
- Monitor the device temperature; if the LED housing feels warm to the touch, power it down and let it cool for several minutes.
- Update the companion app regularly to ensure the gyroscope calibration and video streaming protocols are functioning at peak performance.